
The Complete Embroidery Placement Guide for Custom Apparel
When it comes to custom apparel, the quality of the embroidery is only part of what creates a polished and professional final product. The placement of the design plays an equally important role in determining how the garment looks, how noticeable the branding is, and how well the embroidery complements the overall style. Even the most beautifully stitched logo can appear awkward if it is positioned incorrectly.
According to the Advertising Specialty Institute (ASI), branded apparel remains one of the most effective promotional products. This is majorly because recipients tend to keep and wear it for months or even years. Since embroidered garments are designed to leave a lasting impression, proper placement becomes an essential part of creating apparel that looks as good as it performs.
But before we get into the placements, it’s important to understand why this embroidery placement guide is actually important.
Why Embroidery Placement Is Just as Important as the Design
A great embroidery design deserves thoughtful placement. Embroidery becomes a permanent part of a garment. This means that there is little room for correction once stitching begins. Because of this, placement should never be treated as an afterthought. Instead, it should be planned carefully by considering the garment’s shape, seams, pockets, and intended purpose.
Proper placement creates visual balance while ensuring the embroidered design remains easy to see without overwhelming the garment. It also helps maintain consistency across multiple pieces of apparel, which is particularly important for businesses, schools, and sports teams. When every garment follows the same placement standards, the finished collection looks cohesive and well-crafted.
Comprehensive Embroidery Placement Guidelines for Custom Apparel
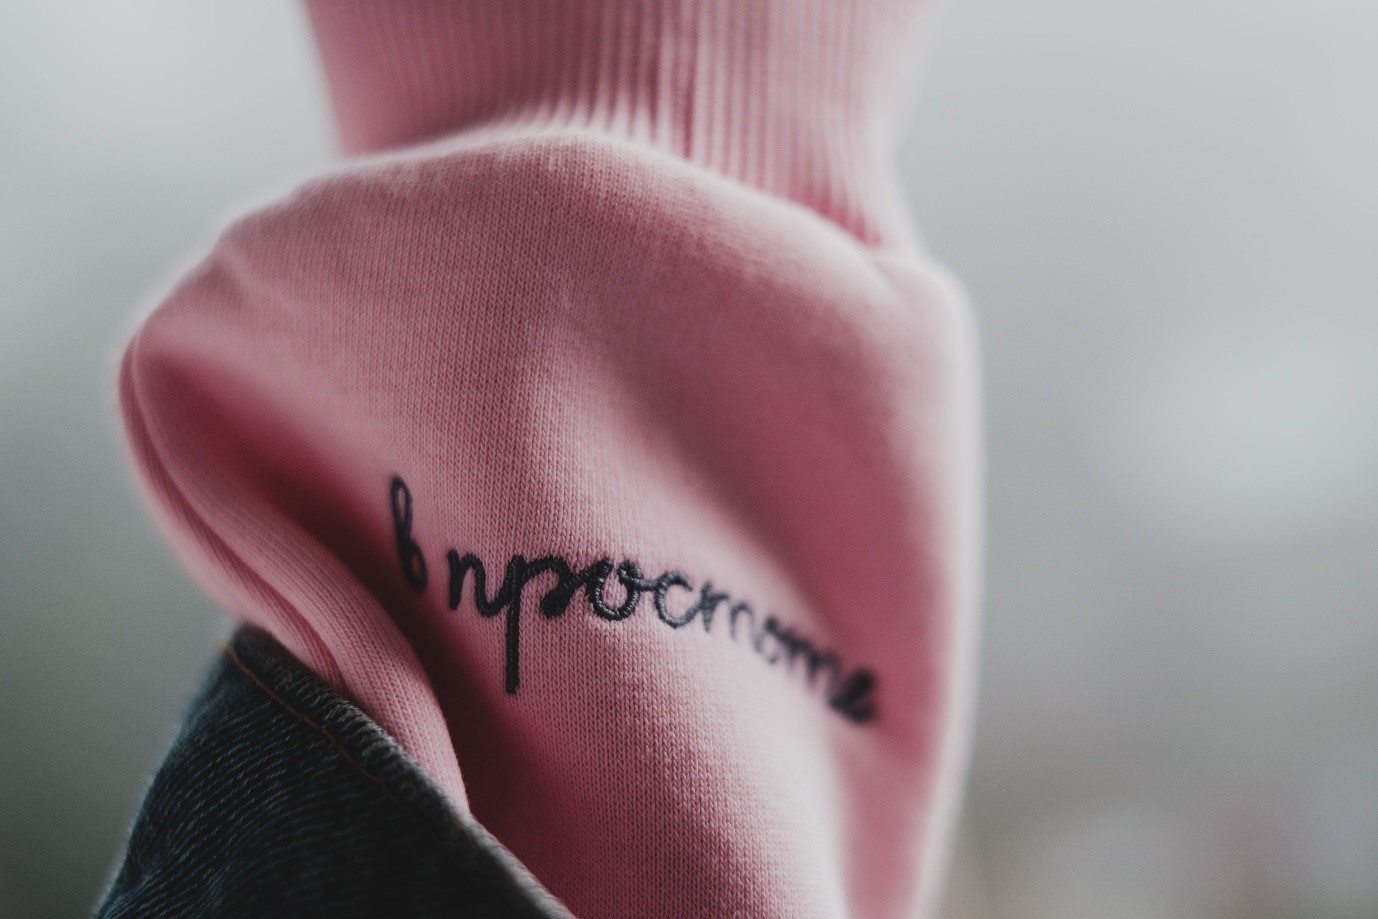
This embroidery placement guide will walk you through the key considerations for positioning embroidery on different types of apparel to achieve clean results. Understanding the basics of placement will help you make informed decisions before the first stitch is ever made.
1. Understand the Embroidery Placement Chart for Different Apparel
An embroidery placement chart acts as a reference that helps determine where embroidery should be positioned on various garments. Although exact measurements may differ depending on clothing size and manufacturer, these charts provide valuable guidance for achieving consistent placement across shirts, jackets, hoodies, hats, bags, and other apparel.
Every garment presents a unique embroidery surface. A polo shirt offers a different working area than a hoodie, while a structured cap requires completely different positioning than a fleece jacket. Because of these differences, experienced embroiderers rarely rely on estimates alone.
Instead, they often use an embroidery placement ruler or other embroidery placement tools to verify alignment before hooping the garment. These simple tools reduce errors and help ensure every design sits exactly where it should, particularly when producing larger orders where consistency is essential.
2. Get the Left Chest Embroidery Placement Right
Among all embroidery locations, left chest embroidery placement continues to be the most popular choice for corporate apparel, uniforms, workwear, and promotional clothing. It offers excellent visibility while maintaining a refined and professional appearance that suits almost every industry.
Achieving the ideal left chest placement for embroidery requires more than simply centering the logo within the available space. The design should be positioned in relation to the shirt’s shoulder seam, collar, and placket so that it appears naturally balanced when the garment is worn. Careful attention should also be paid when working with shirts that include pockets, as the design must avoid interfering with functional features while remaining visually appealing.
Another important factor is left chest embroidery size, as oversized logos can dominate the garment and create an unbalanced appearance. Choosing the appropriate embroidery size for left chest allows the branding to remain clear and readable without distracting from the overall design of the apparel.
3. Apply Embroidery Placement Guidelines to Specialty Garments

While shirts and polos often follow familiar placement standards, specialty garments require a more customized approach. Different products are designed with unique features that influence where embroidery should be positioned, making flexibility just as important as consistency.
For example, robe embroidery placement is typically adjusted to account for overlapping front panels so that the embroidered design remains visible when the robe is worn. Likewise, monogram placement varies depending on whether the embroidery is being added to towels, bags, or other personalized items. Each product has its own traditional placement that enhances both appearance and functionality.
Following established embroidery placement guidelines helps ensure designs complement the garment rather than compete with seams, pockets, zippers, or decorative details. Considering these structural elements before embroidery begins leads to cleaner results and improves the overall presentation of the finished product.
4. Balance Design Size with Embroidery Position
Successful embroidery depends on finding the right balance between design size and placement. A logo that looks perfect on the back of a jacket may appear far too large on the sleeve of a polo or the front of a cap. Similarly, a small design placed on an oversized garment can become difficult to notice, reducing its visual impact.
Professional embroiderers carefully evaluate the available embroidery area, the complexity of the artwork, and the type of fabric before determining the final position. Dense designs often require larger embroidery areas to preserve fine details, while lightweight fabrics may benefit from slightly smaller designs that reduce stitch density and minimize puckering.
Many embroidery businesses also maintain an internal embroidery placement guide PDF that documents standard measurements for different garment styles. This ensures consistency between production runs and helps every embroidered item meet the same quality standards.
5. Small Placement Decisions Create a Big Difference
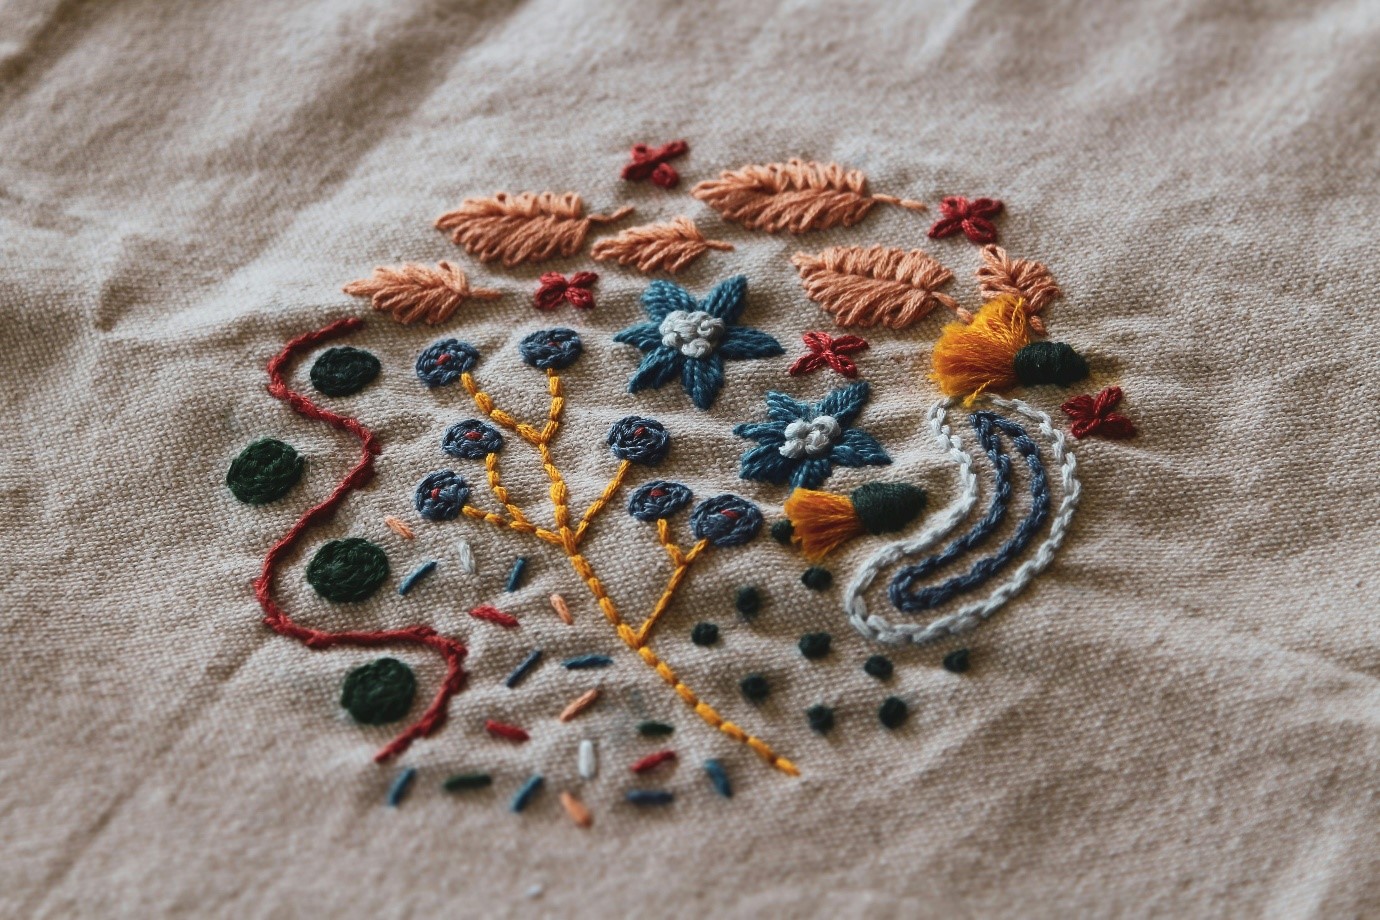
Embroidery often appears simple from the outside, but achieving professional results requires careful planning before the embroidery machine even begins stitching. Minor placement errors can become surprisingly noticeable once a garment is worn, particularly if a logo appears too high, too low, or too close to a seam or pocket.
Taking the time to measure accurately, evaluate the garment’s construction, and consider how the clothing will fit on the wearer all contribute to a more polished final product. These seemingly small decisions ultimately separate average embroidery from work that looks truly premium. Whether producing a single personalized garment or hundreds of uniforms, precision and consistency remain the foundation of exceptional embroidery.
Parting Thoughts
A well-planned embroidery project is about much more than selecting the right thread colors or creating a beautiful design. Proper positioning is what brings everything together, ensuring the finished garment looks balanced, professional, and comfortable to wear. By doing things like following a dependable embroidery placement guide, you can achieve results that enhance both the garment and the design.
At MJ Printing and Embroidery, we believe that every detail matters. Our experienced team combines precision, craftsmanship, and years of expertise to ensure every logo, monogram, and custom design is positioned perfectly for maximum visual impact. Whether you’re ordering embroidered uniforms, corporate apparel, promotional clothing, or personalized garments, we deliver embroidery services that are professional and durable, helping your brand stand out with every stitch.
